Locations
Locations is and optional feature for displaying a company name and address on a team member’s Detail page. And, instead of manually typing out a location for each team member, you pre-build one or more locations and easily then apply them when you add a team member.
Add a Location
- In the WordPress Dashboard under Teams, click on Locations
- On the Locations page, click the Add Location button to go to the Add Location page
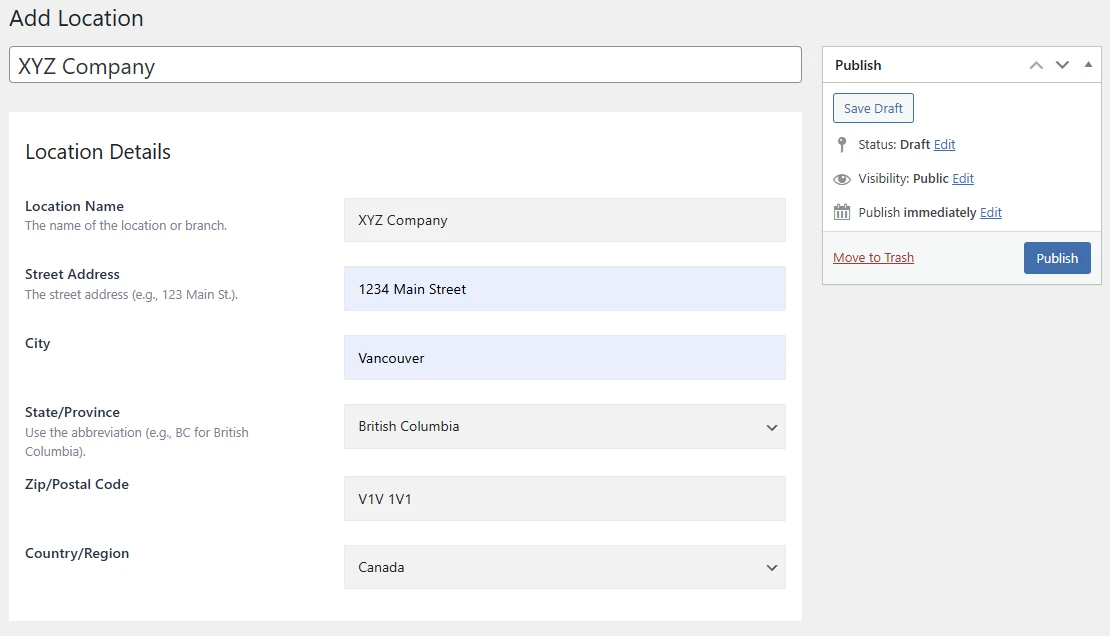
- On the Add Location page, enter the Title of the location, usually a company name
- Under Location Details, start by entering the Location Name, usually the same as the Title, and then enter all remaining details
- When done, click the Publish button to save the location
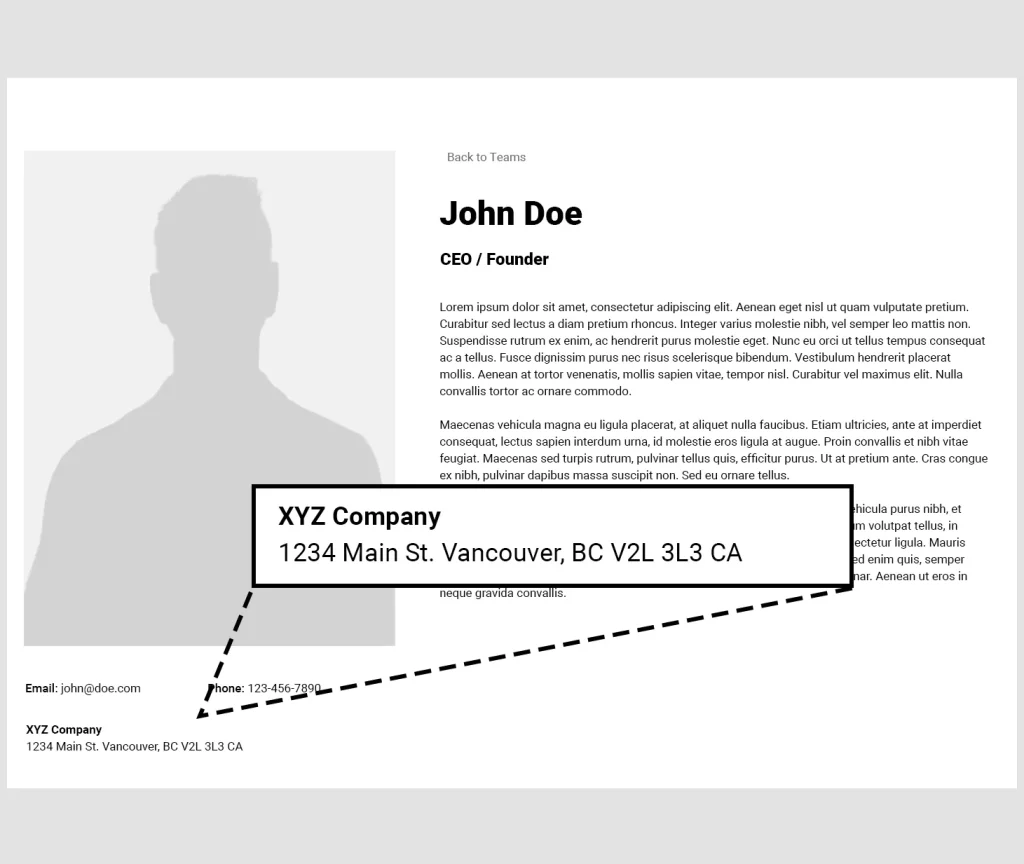
You now have a company location that can be implemented on your team member’s detail page’s. See the example below.
Edit a Location
- In the WordPress Dashboard under Teams, click on Locations
- On the Locations page, you will see a list of locations that have been created
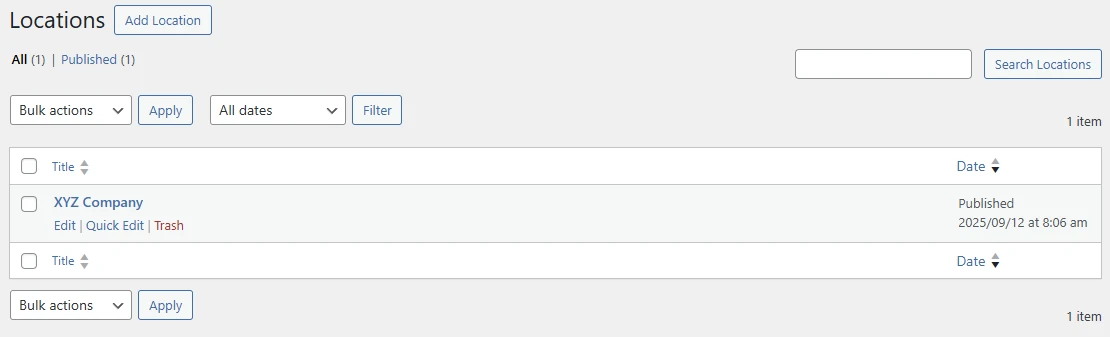
- Click the Edit link below the location you want to modify
- On the Locations page, you will see a list of locations that have been created
- You will be taken to the Edit Locations page where you can make your modifications
- When done, click the Publish button to save the location
Delete a Location
- In the WordPress Dashboard under Teams, click on Locations
- On the Locations page, you will see a list of locations that have been created
- Click the Trash link below the location you want to delete. The Location will be removed from the list and placed in the Trash.

- A list of all trashed items will display
- You now have the option of Restoring the trashed location, or to Delete Permanently. Click Delete Permanently.
- The location is now permanently deleted from the system